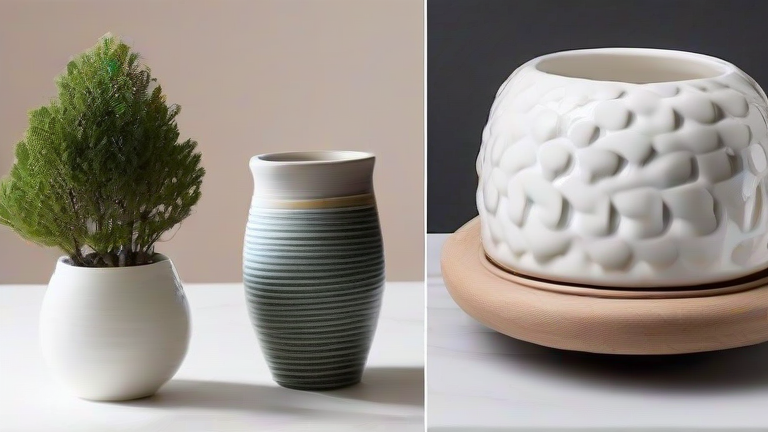
TL;DR: Create stunning porcelain gifts by mastering simple hand-building techniques like pinch pots and coil construction, focusing on clean lines and personalization. Use a clear glaze over bisqued pieces to achieve a professional, durable finish suitable for everyday use.
Step-by-Step Porcelain Gift Tutorial
Creating handmade porcelain gifts is a rewarding hobby that allows for deep personalization. Porcelain is known for its white color and translucency, making it perfect for elegant home decor items. Before you begin, ensure you have access to a kiln or a local pottery studio that offers firing services. This is the most critical step, as porcelain requires high temperatures to mature correctly. If you do not have your own kiln, plan your schedule around studio firing days to avoid delays in gifting your creations.
If you want to dig deeper, check out our guide on 10 Best Porcelain Gift Ideas for Any Occasion.
Start by preparing your workspace with a smooth, non-porous surface. Porcelain clay is very sticky and prone to drying out quickly, so keep a damp sponge nearby. For beginners, the pinch pot technique is the easiest entry point. Take a small ball of porcelain clay and roll it into a sphere. Use your thumb to press down from the center, creating a hole, and gently pinch the sides to form a bowl or vase. Keep the walls uniform to prevent cracking during the drying process. Allow the piece to dry slowly to bone dry state, which can take several days. Wrap it in plastic if the air is dry to prevent uneven drying.
Once the piece is bone dry, carefully remove it from the surface. Any cracks at this stage are usually fixable by scoring the edges and using slip as a glue. After ensuring the piece is completely dry, it is ready for the first firing, known as bisque firing. This firing hardens the clay and makes it porous enough to accept glaze. After the bisque firing, the piece is ready to be glazed. Choose a clear glaze for a classic look or a colored glaze for a vibrant statement. Dip or pour the glaze evenly, ensuring no air bubbles are trapped. Wipe the bottom of the piece clean with a damp cloth to prevent it from sticking to the kiln shelf during the final firing.
The final step is the glaze firing. This high-temperature process melts the glaze into the porcelain, creating a glassy, durable surface. Once cooled, inspect your piece for any defects. If you are making a set, such as matching mugs or vases, consistency in size and shape is key. Package your porcelain gifts in soft tissue paper to protect the delicate surface. Include a small card explaining that the item was handmade and food-safe if you used food-safe glazes. This adds a personal touch that store-bought items cannot replicate. Remember that perfection is not required; small imperfections often add to the charm of handmade ceramics.
Practice patience throughout the process. Porcelain is unforgiving of haste, but it rewards careful attention. By following these steps, you can create beautiful, lasting gifts that showcase your creativity and skill. Keep experimenting with different shapes and glazes to find your unique style. The joy of creating something by hand is an experience that will bring you as much satisfaction as the recipient’s delight.
FAQ
Q: Can I use porcelain for making mugs?
A: Yes, porcelain is excellent for mugs because it is durable and non-porous when properly glazed, making it safe for drinking hot beverages.
Q: How long does the entire process take?
A: The process typically takes two to three weeks, accounting for drying time, bisque firing, glazing, and the final glaze firing cycle.
Q: What is the best glaze for beginners?
A: A clear glaze is the best starting point because it highlights the natural beauty of the porcelain and is forgiving of minor surface imperfections.
Leave a Reply