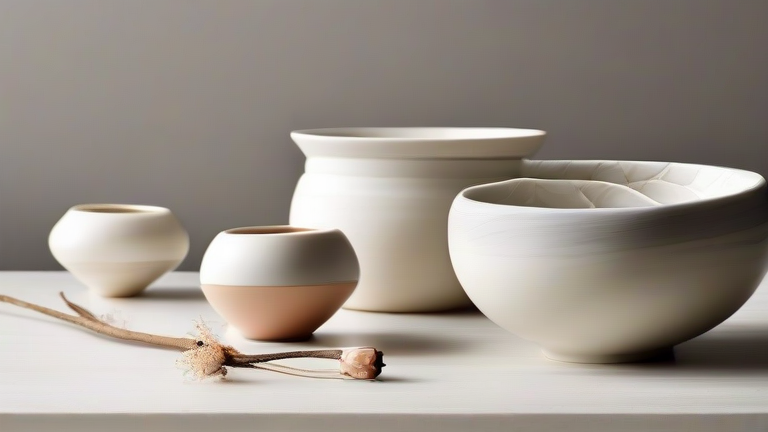
Handmade Porcelain Gift Ideas: A Step-by-Step DIY Tutorial
TL;DR: Create unique porcelain gifts by shaping kaolin clay into custom forms, bisque firing, and applying vibrant glazes. Follow precise temperature schedules to ensure durability and a glossy, professional finish for your recipients.
Preparation and Materials
Begin by gathering high-quality porcelain clay, which is known for its white color and translucency when thin. You will also need a wire tool for cutting, a sponge, a ribbon tool for smoothing, and various brushes for application. Ensure your workspace is clean and protected, as porcelain can be messy when wet. If you do not own a kiln, consider partnering with a local studio or using a shared firing service. This initial setup is crucial because porcelain requires specific conditions that standard home ovens cannot provide.
If you want to dig deeper, check out our guide on 10 Best Tech Gadgets for Remote Workers: Laptops, Docks, and.
Shaping Your Piece
Start by wedging the clay to remove air bubbles, which can cause explosions during firing. Roll out an even slab or center a ball on the wheel for your chosen design. Common gift ideas include mugs, coasters, or small figurines. Keep the walls relatively thick, as porcelain is fragile when thin. Use a sponge to keep the surface moist and workable. Smooth out any ridges with a rib tool to ensure a uniform thickness. Once shaped, let the piece dry slowly under a plastic bag to prevent cracking. This slow drying phase is essential for maintaining structural integrity before the first firing.
Firing and Glazing
After the piece is bone dry, place it in the kiln for a bisque firing. This process turns the clay into a porous ceramic that is ready for glazing. Set your kiln to reach approximately 1000 degrees Celsius, which is standard for porcelain. Once cooled, mix your glaze to a creamy consistency. Dip or brush the glaze onto the bisqueware. Porcelain reacts uniquely to glazes, often creating a glassy, translucent effect. You can layer different colors for depth, but ensure the bottom of the piece is unglazed to prevent it from sticking to the kiln shelf. Apply a thin, even coat to avoid running or pooling.
Final Firing and Finishing
Return the glazed piece to the kiln for the final glaze firing. This requires a higher temperature, usually around 1300 degrees Celsius, to melt the glaze completely. Be patient during this long cycle. After cooling, inspect your gift for any imperfections. If satisfied, wrap it securely in bubble wrap for gifting. Add a personal note explaining the craftsmanship. Your handmade porcelain gift is now ready to be enjoyed, offering a timeless and durable keepsake that reflects your personal effort and artistic skill.
FAQ
Q: Can I fire porcelain in a regular oven?
A: No, porcelain requires temperatures far exceeding the capacity of standard household ovens, making a dedicated ceramic kiln mandatory.
Q: How long does the entire process take?
A: The total time ranges from two to four weeks, accounting for slow drying, bisque firing, glazing, and the final glaze firing cycle.
Q: Is porcelain safe for food use?
A: Yes, once fully fired and glazed with food-safe materials, handmade porcelain is non-porous and safe for holding beverages and food.
Leave a Reply