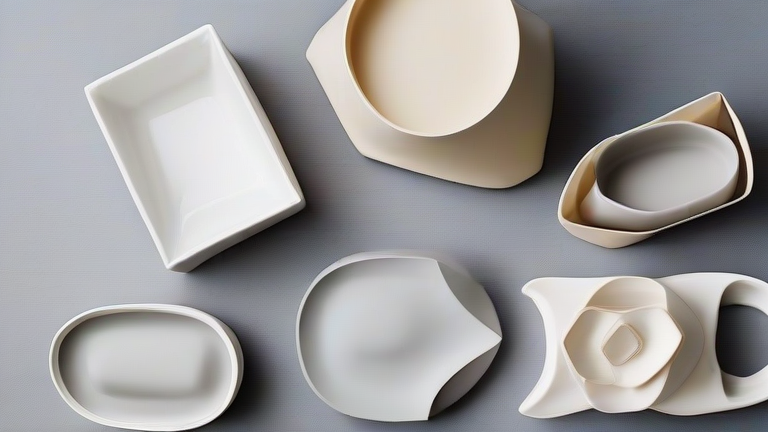
TL;DR: Create elegant handmade porcelain gifts by combining traditional hand-building techniques with personalized designs. This guide provides a structured approach to crafting unique ceramic pieces that serve as lasting, sentimental tokens for any occasion.
Introduction to Porcelain Crafting
Porcelain is a fine ceramic material known for its translucency, strength, and white color. It is an excellent medium for creating high-value gift items because it feels premium and durable. Unlike earthenware, porcelain requires higher firing temperatures, which results in a glassy, non-porous surface. This makes it ideal for functional items like mugs, plates, and vases that can be used daily. When planning a handmade porcelain gift, consider the recipient’s interests. A minimalist teacup might appeal to a tea lover, while an intricate vase suits a home decorator. The key to a successful gift lies in the balance between technical precision and artistic expression. You do not need to be a master potter to create something beautiful; consistent practice and attention to detail are more important than innate talent.
If you want to dig deeper, check out our guide on Unique Porcelain Gift Ideas for Every Occasion.
Materials and Tools
Before beginning, gather the necessary supplies. You will need a block of porcelain clay, which is finer and more plastic than stoneware. Essential tools include a wooden modeling tool, a rib for smoothing, a wire cutter, and a sponge. For shaping, you may use a wheel if you have access to one, or hand-build using pinch or slab methods. Hand-building is often recommended for beginners because it allows for greater control over the form and decoration. Remember to wear a respirator when handling dry clay or dust, as porcelain particles can be irritating to the lungs. Ensure your workspace is clean and well-lit to spot any cracks or flaws early in the process.
Step 1: Preparing the Clay
Start by wedging the porcelain clay to remove air bubbles and ensure uniform consistency. Knead the clay on a non-porous surface until it feels smooth and springy. This step is critical because air pockets can cause explosions during firing. Once prepared, roll the clay into a ball or roll it out into slabs, depending on your chosen technique. For a simple gift idea, consider making a small bowl using the pinch method. Begin with a ball of clay and gently pinch the walls upward, rotating the piece as you work. Keep the thickness even to prevent warping during the drying process.
Step 2: Shaping and Forming
Once the basic form is established, refine the shape. Use a damp sponge to smooth the exterior and interior surfaces. If you are making a mug, pull out the handle carefully, ensuring it is attached at a structural high point. For a vase, you might use the coiled method, stacking rings of clay and blending them together. Take your time with this stage, as porcelain is unforgiving of rushed work. Check for symmetry and proportion frequently. You can add texture or patterns using carving tools, but keep the design simple for a first project. Remember that porcelain shrinks significantly during firing, so account for this in your measurements.
Step 3: Drying and Bisque Firing
Allow the piece to dry slowly and evenly. Wrap it in plastic for a few days to prevent cracking, then let it dry out completely until it feels light and chalky. This can take several days or even weeks, depending on the size and humidity. Once bone dry, place the piece in the kiln for a bisque firing. This initial firing turns the clay into a porous ceramic that can hold glaze. Follow the specific firing schedule provided by your kiln manufacturer to avoid thermal shock. The bisque ware should be handled carefully, as it is still fragile despite being hard.
Step 4: Glazing and Final Firing
Apply glaze to the bisque-fired piece. Use a brush, dip, or pour method to cover the surface evenly. Avoid glazing the foot of the piece to prevent it from sticking to the kiln shelf. Choose glazes that are compatible with porcelain, as they require high temperatures. Mix colors or use layered effects to
Leave a Reply